A pedicure is a simple way to get in some much-needed pampering time.
It not only feels good but makes your feet look beautiful. When you look good, you feel good.
Boom… Instant mood lifter and morale booster.
The best part is that you don’t have to spend a fortune or workaround COVID19 restrictions.
All the information you need for a natural salon-quality pedicure at home is about to be revealed.
Why Pedicures Matter
One of the first areas of the body that gets neglected too often is your feet.
According to the American Podiatric Medical Association, approximately 5% of Americans suffer from corns and calluses each year.1Harvard Medical School. Corns and Calluses, health.harvard.edu. 2019

Many of these people do not seek medical or professional treatment.
It’s also interesting to learn that more women than men suffer from calluses.2D. Singh, G. Bentley, and S. G. Trevino. Callosities, corns, and calluses., BMJ. 1996
Most likely, due to high heels and ill-fitting shoes, there’s no better time for a pedicure to restore health and beauty to your feet.
DIY Pedicure Tools
To get the results of a salon-quality pedicure at home, start by removing calluses and softening rough, cracked, peeling and dry skin. Here are some options for callus removal and dry skin treatment:
Electric Callus Remover
An electric callus remover is a safe, fast, effective way to remove calluses and smooth skin. A handheld electronic device with a 360-degree rotating sandpaper textured roller, it works fast to smooth your feet.
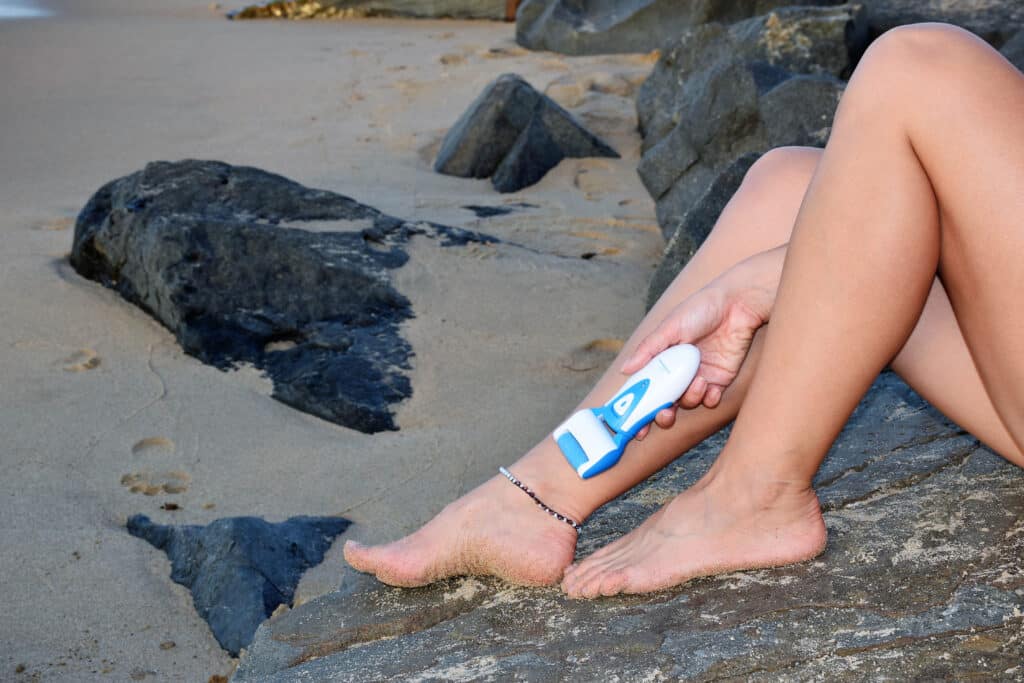
Our Editor’s Choice is the Own Harmony Electric Callus Remover because it delivers spa-quality results. This model is lightweight, rechargeable with a long charge life, sturdy, safe, easy to use, and easy to clean.
Pumice Stone
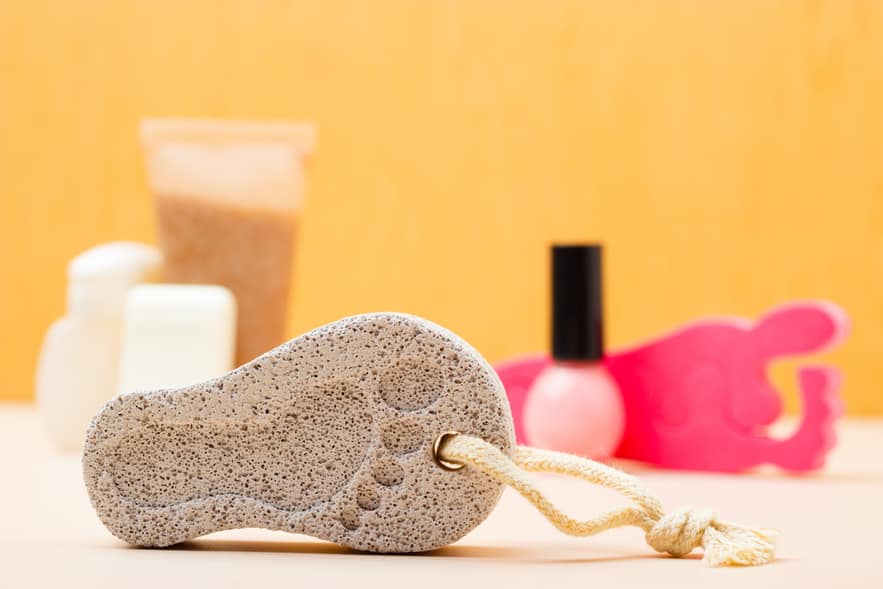
The rough texture of pumice stone is a natural choice for callus removal. It’s made from hardened volcanic rock and works to slough off hard, dead skin by working a moistened stone in a circular motion around feet and calluses.
Foot File
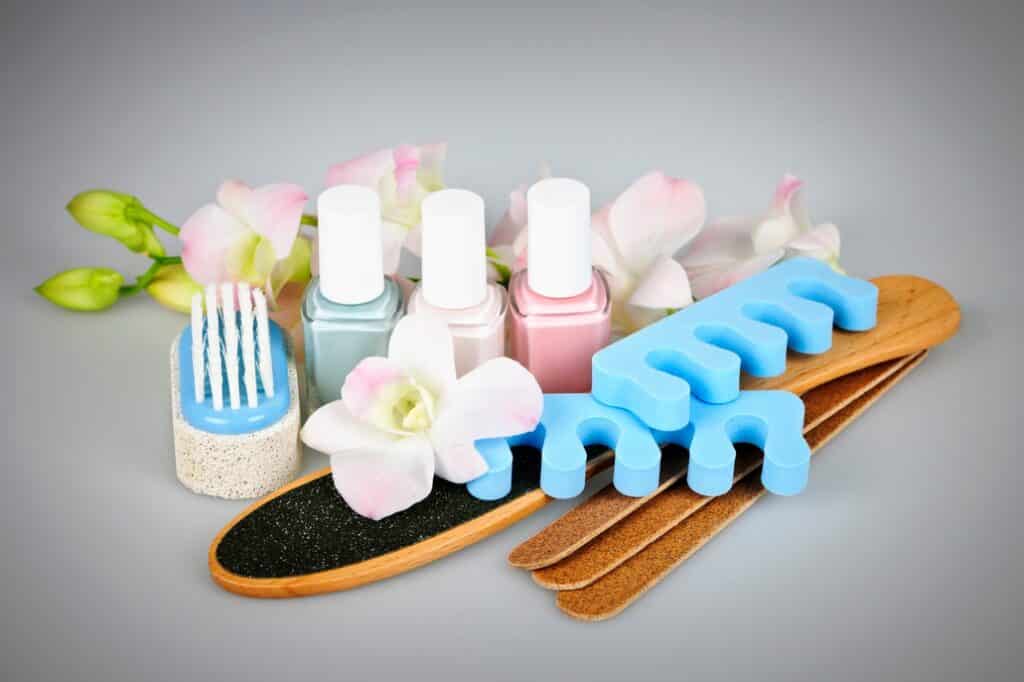
A manual foot file or grater features a metal or emery file with a handle. You use the foot file by using gentle strokes in one direction, and file hardened skin away until smooth.
Foot Creams, Gels
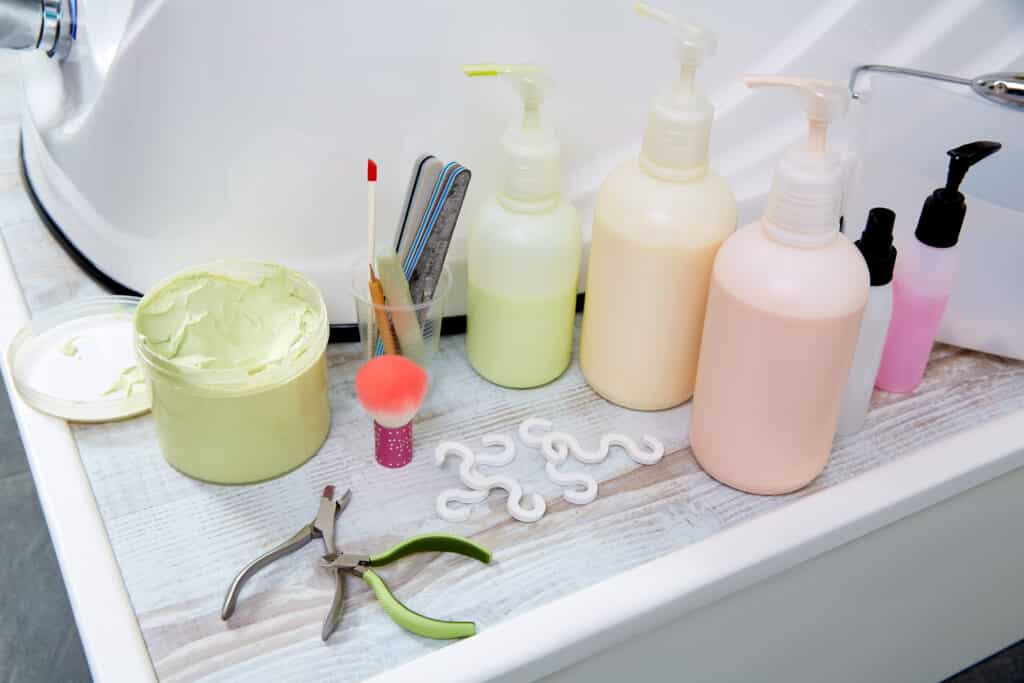
Foot creams and gels work by softening and dissolving away thick, hard calluses. Using softening agents with salicylic acid or 40% Urea, you apply to affected areas and remove the skin as it softens and can be peeled away.
Foot Masks
Foot masks do an incredible job of softening calluses and rough patches of skin on feet, but it isn’t a pretty sight while the skin is shedding.
You slide the mask over your feet like booties and leave on for about an hour. The booties contain a skin-softening acid that works over the next few days.
During that time, skin peels off in layers, and ultimately, you end up with super soft feet.
Home Pedicure Soak
Nothing cleans and softens skin like a foot soak. By using skin softening additives like essential oils, Epsom salts, or vinegar to your home pedicure soak, calluses are softened enough for easier removal in about 10 minutes.
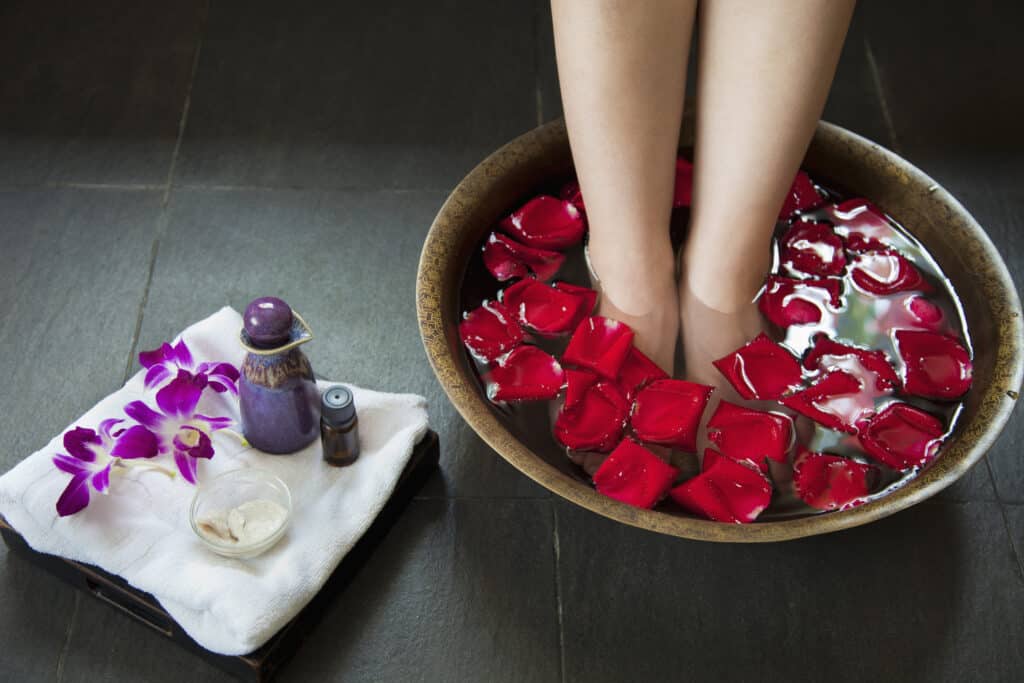
Another popular trend is to use Pedi Bombs or Fizzy Pedi Soaks. These added foot soak “bombs” add a calming, refreshing soaking effect. They smell fabulous and get feet clean and Pedi ready.
Step by Step DIY Pedi Procedure
For a salon-quality pedicure at home:
Step One: Prep Work
Before soaking feet, remove any old, chipped nail polish. Gather supplies like a towel, cotton balls, callus remover, foot soak additive, orange sticks, nail clippers, toenail polish, foot lotion, and clean socks.
Step Two: Home Pedicure Soak
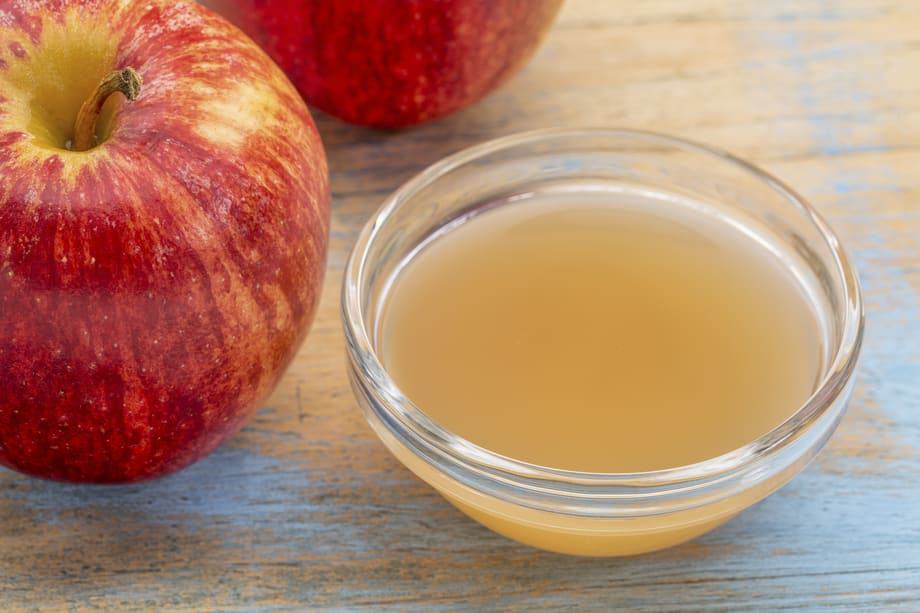
Fill a big bowl or tub with warm water. Add a few drops of essential oil, vinegar, Epsom salts, use a pedi bomb…it’s up to you. Soak your feet for about 10 minutes to soften those hard calluses and cuticles.
Step Three: Remove Dead Skin
After soaking feet and patting them dry, remove hard, dead skin by using an electric callus remover, pumice stone or foot file. Use callus remover until the skin is smooth. It’s at this point you can use another callus remover, such as a foot mask or callus removing cream/gel.
If you choose something other than the electric callus remover, pumice stone or foot file, skip to steps 4, 5, and 6, then come back to step 3. You want to trim and shape toenails and massage feet before using a foot mask or callus remover cream.
Step Four: Trim and Shape Toenails
Trim nails with a nail clipper, not too short and not too long. Shape corners, edges, and smooth out nails with an emery board. Use a nail buffer for more smoothness and shine.
Step Five: Push Back Cuticles
Cuticles keep bacteria from entering under toenails, so use moisturizing cuticle oil to push cuticles back with an orange stick. Do not try to cut them because you could do more harm than good, leading to the potential for injury or infection.
Step Six: Massage Feet
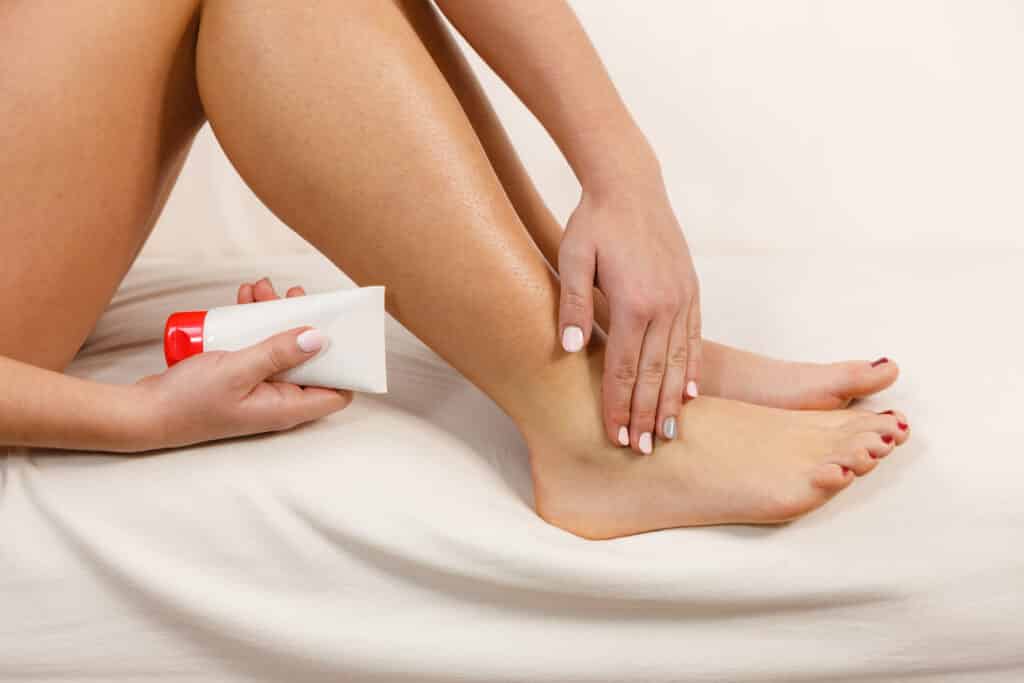
While using a thick moisturizing lotion or cream, start at the toes and work your way across and on all sides of the feet. This will help stimulate circulation and keep skin hydrated. At this point, it’s typically time to slip on a pair of clean socks.
You can either stop here or go on to polish your toenails.
Step Seven: Polish Toenails
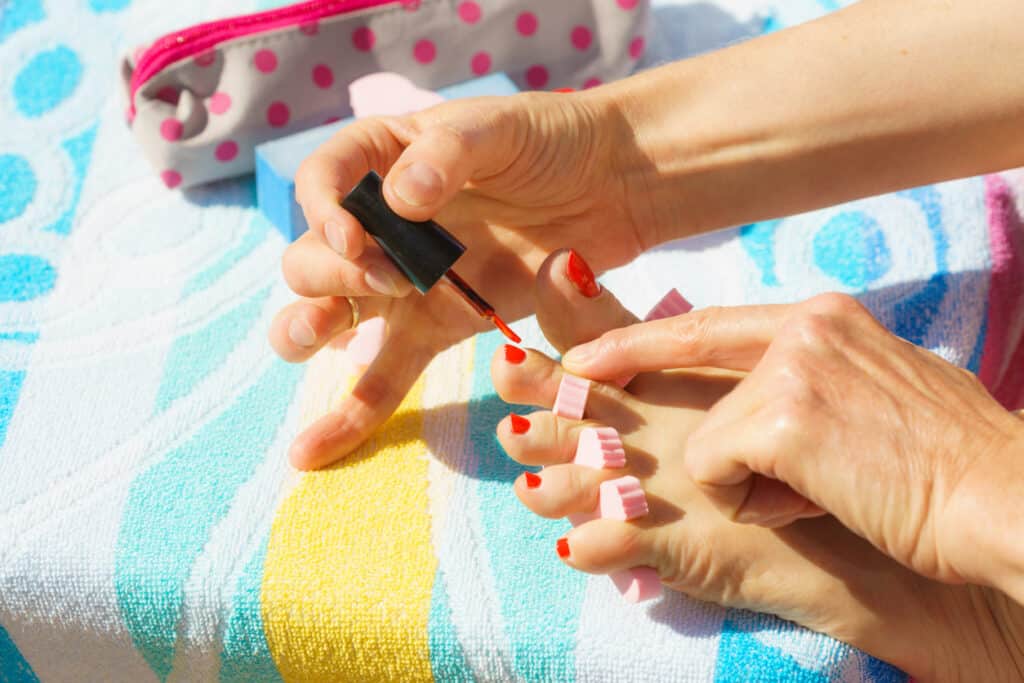
Clean any extra lotion or oil off toenails with an alcohol-infused cotton ball. Once dry, apply a base coat followed by two coats of your favorite toenail polish. Once dry, apply a top coat to prevent chips for longer-lasting pedi-fresh toenails.
Why Would Someone Want to do a DIY Pedicure?
A salon-quality pedicure at home is not hard but follows a procedure for the best results. If you do, here are some benefits:
- Cost savings.
- Privacy and flexibility to do a DIY pedi whenever you want.
- Removing calluses, peeling, rough, scaly, or dry skin
- Smoother, healthy-looking feet.
- Attention to toenails and cuticles.
- Pedi parties take “girls night in” to a whole new level.
Taking advantage of this natural DIY pedicure will allow your feet to feel spa-fresh and sandal ready every day.
